Fix Garage Door Safety Sensors in 8 Steps for Loveland Homeowners
Garage door safety sensors are the photo-eye pair mounted near the floor that stops your door from closing on a person, pet, or object. If your door won’t close, look at the sensor LEDs first: check for obstructions, wipe both lenses clean, and realign if they’re bumped out of position. Never bypass the sensors. If wiring looks damaged or an LED stays dark after cleaning, hold the wired wall button for a manual close and call a professional.
TL;DR:
- Most sensor issues are caused by misalignment, dirty lenses, or wiring damage, not faulty units themselves, requiring thorough cleaning and wiring checks first.
- Blinking LEDs usually indicate misalignment, dirt, sun glare, or wiring faults, with codes specific to model and brand tools for diagnosis.
- Testing involves manually aligning sensors, cleaning lenses, shading receivers from sunlight, and confirming the door reverses when passing an object through the beam.
- Replacing sensors requires verifying compatibility via model number, checking wiring, and choosing UL 325 compliant parts suited to the garage’s environmental conditions.
- Persistent faults after DIY troubleshooting often signal wiring problems, which need professional diagnosis with a multimeter for safe and lasting repair.
Table of Contents
- How Do Garage Door Safety Sensors Work?
- What Do Blinking Sensor Lights and Blink Codes Mean?
- How Do You Diagnose and Fix a Garage Door Sensor?
- How Do You Choose the Right Replacement Sensors?
- What Do Repair Techs See Most Often With Sensor Failures?
- An Editorial Take on Sensor Troubleshooting
- Need a Sensor Fixed Today? Here’s How Mikes Garage Doors Loveland Colorado Helps
- Standards and Troubleshooting Resources
- Sources
- FAQ
How Do Garage Door Safety Sensors Work?
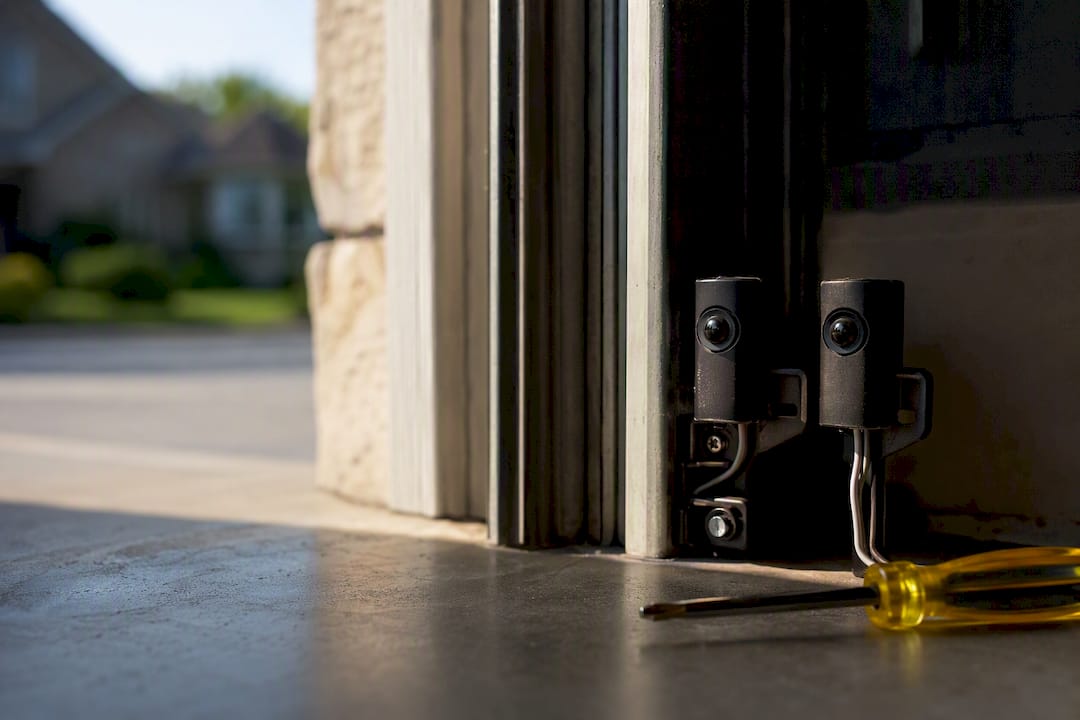
One sensor sends an infrared beam, the other receives it. Break that beam while the door is closing and the opener reverses instantly, which is exactly the point. The Consumer Product Safety Commission required this kind of external entrapment protection on residential openers after tracking injuries and deaths tied to doors that closed on people. That rule, backed by 16 CFR part 1211, applies to openers made on or after January 1, 1993.
Mounting height matters more than most homeowners realize:
- Sensors sit about 4 to 6 inches off the floor, low enough to catch a toddler, pet, or garden hose before the door reaches them.
- UL 325 also requires a second layer of protection: force-sensing auto-reverse, which stops the door if it meets resistance even without a broken beam.
- Test both monthly. Wave a broom at floor level while the door closes to check the photo-eye, then set a 2x4 flat on the ground to confirm the door reverses on contact.
Two safety systems working together, not one, is what actually keeps a 200-pound door from becoming a hazard.
What Do Blinking Sensor Lights and Blink Codes Mean?
A steady LED on both sensor units means they’re aligned and talking to each other. A blinking LED almost always means the receiver has lost the emitter’s beam, and that’s rarely random. According to Garage Door Science, the most common causes rank in this order:
- Misalignment from a bumped bracket, a dropped bike, or a stray basketball.
- Dirty lenses coated in dust, cobwebs, or lawn debris.
- Direct sunlight hitting the receiver at a specific time of day, usually morning or evening depending on which way your garage faces.
- Damaged or chewed wiring, often from rodents or a staple driven through the insulation.
- A failed sensor unit, which is the least common cause but the one that finally requires a replacement.
If your opener’s motor head has a small LED or diagnostic display, count the blinks. Many openers use a specific blink pattern to flag a sensor wiring fault, distinct from the codes for a bad circuit board or a limit switch problem. Check your owner’s manual for the exact pattern, since blink codes vary by brand and model. When the code points to sensors and the LEDs are dark or blinking, you’re looking at the same failure from two different angles, which makes diagnosis faster, not more confusing.
How Do You Diagnose and Fix a Garage Door Sensor?
Work through this sequence in order. Most homeowners solve the problem in the first three steps.
- Cut power at the opener before touching any wiring, and keep the door manually secured if it’s already open.
- Check both LEDs. Steady means power and alignment are fine; blinking or dark tells you where to look next.
- Wipe both lenses with a soft, dry cloth. Dust and pollen build up faster than most people expect, especially near a driveway.
- Loosen the wing nut or bracket screw and gently realign the sensors so both face each other squarely, then retighten.
- Test at floor level by closing the door and passing an object through the beam path to confirm it reverses.
- Shade the receiver with a small cardboard flap or relocate it slightly if sun glare hits it at a certain time of day. This fix is often permanent once done right.
- Trace the wiring from each sensor back to the opener, looking for nicks, staples through insulation, or chew marks.
- Power-cycle the opener after any fix. Unplug it for 30 seconds, plug it back in, and retest.
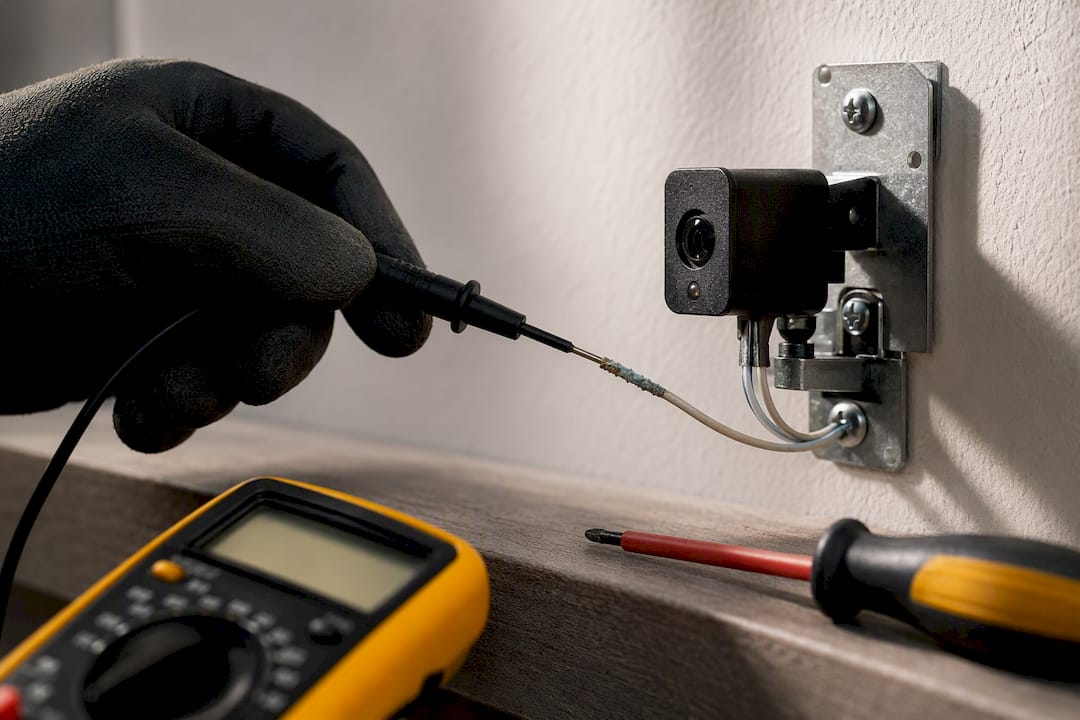
Pro Tip: Low-voltage sensor wire is thin and easy to damage without anyone noticing. If you find a nick or a spot where the wire passes behind drywall or a baseboard, a simple continuity test with a multimeter will tell you if that’s your fault before you spend money on new sensors.
If both LEDs stay dark after a full wiring check, or the door works one day and fails the next with no obvious cause, stop troubleshooting and call a technician. Intermittent faults and moisture-related corrosion are hard to chase without a meter and time most homeowners don’t have to spare.
How Do You Choose the Right Replacement Sensors?
Start by finding the part or model number printed on your opener’s motor housing, not the wall console. That number is what determines compatibility, and it’s the single most common thing people skip before ordering.
- Universal kits sometimes work across brands, but verify wiring pinout and voltage before assuming a generic pair will pair correctly with your opener.
- UL 325 compliance should be non-negotiable. Retailers like Home Depot list compatible OEM pairs by opener model, which is the safest starting point for most homeowners.
- Sun-filtered receivers are worth the extra cost if your garage faces east or west, where morning or evening glare is a recurring problem rather than a one-time fluke.
- Wiring length matters too. Measure the run from each mounting point to the opener before buying a kit with fixed-length cable.
A basic replacement pair typically costs modestly for parts. DIY installation is usually quick once the old brackets are removed. Professional installation costs more upfront but adds labor, proper alignment, and a warranty on the work, which matters if the fault turns out to be wiring rather than the sensors themselves.
What Do Repair Techs See Most Often With Sensor Failures?
After years of service calls across Northern Colorado, the Mikes Garage Doors Loveland Colorado team sees the same handful of culprits again and again. Rodent-chewed wiring tops the list, especially in garages with any gap along the bottom seal. Warped or bent brackets from a bumped ladder or stored bike come next. Intermittent moisture in the wire run, often from a slow leak or condensation, causes failures that come and go, which frustrates homeowners who assume the sensor itself is defective.
- Dark LEDs even after a full cleaning and alignment check usually mean wiring, not the sensor unit.
- Recurring failures on the same schedule (same time of day, same season) point to sun glare or temperature-related wire expansion.
- Any sign of green corrosion on wire connections means moisture has already gotten in.
Pro Tip: If you’ve cleaned, realigned, and power-cycled and the problem still comes back within a week, it’s wiring, not the sensor. That’s a job for a meter and someone who does this daily.
Veterans get an automatic 10% discount.
An Editorial Take on Sensor Troubleshooting
Most advice on this topic treats every blinking LED like a five-minute fix, and that’s where homeowners get burned. Cleaning a lens and nudging a bracket solves the majority of cases, no argument there. But the conventional wisdom skips the harder truth: a meaningful share of “sensor problems” are actually wiring problems wearing a sensor costume, and no amount of realigning fixes a nicked wire hidden behind drywall.
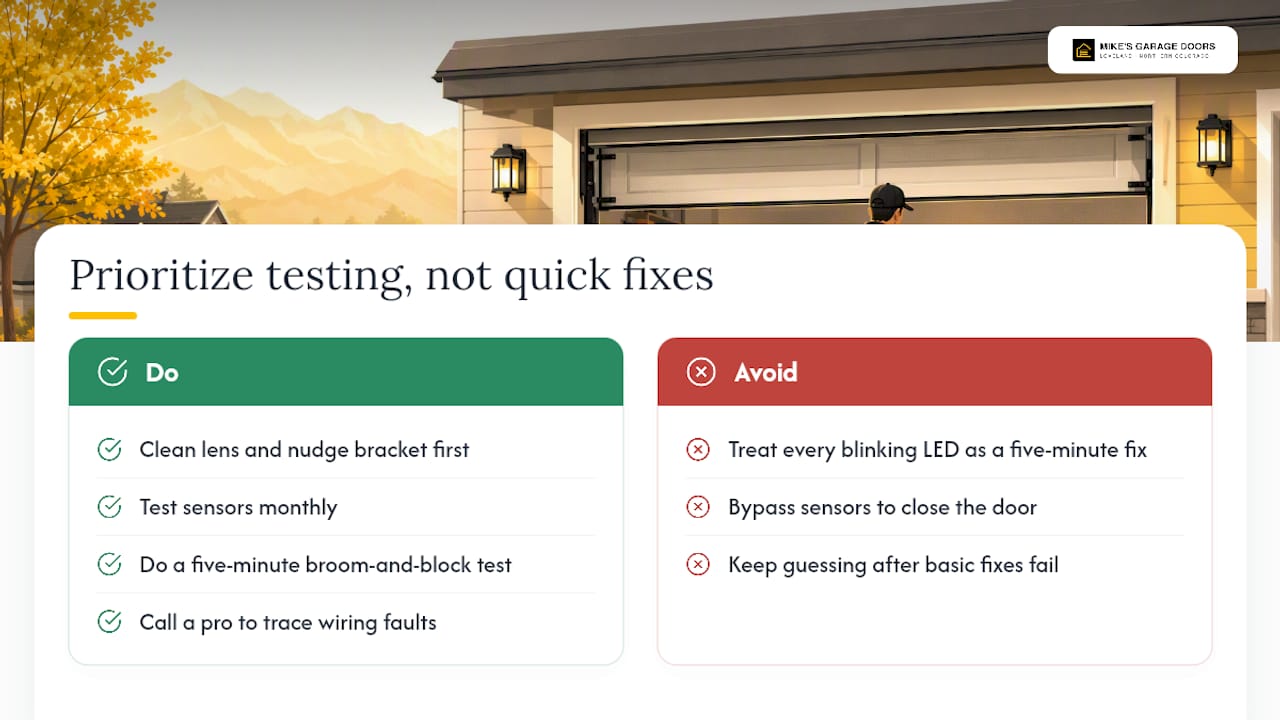
The standards side gets underrated too. UL 325 and the CPSC rule aren’t bureaucratic box-checking. They exist because doors used to close on people before entrapment protection became mandatory. That history is worth remembering the next time bypassing a sensor to “just get the door closed” feels tempting.
Here’s what actually deserves priority: test monthly, not just when something breaks. A five-minute broom-and-block test catches degrading sensors before they fail completely. If you’re past the basic fixes and still stuck, don’t keep guessing. Wiring faults need a meter and someone who traces wire for a living, not another round of lens wiping.
— Eddie
Need a Sensor Fixed Today? Here’s How Mikes Garage Doors Loveland Colorado Helps
If you’ve worked through the LED checks, cleaned the lenses, and the door still won’t close reliably, it’s time to stop guessing and get eyes on the wiring. This garage door repair service offers Loveland and Northern Colorado homeowners upfront estimates over the phone before a technician arrives, helping to avoid surprise invoices.

A typical service visit starts with a full inspection of the sensors, brackets, and wiring, then a clear quote on what needs fixing versus what’s optional. Whether it’s a straightforward sensor replacement, a full opener repair or install, or a tune-up to catch problems before they start, the team completes most jobs the same day. If your sensors are past DIY territory or the wiring fault has you stumped, contact Mikes garage doors Loveland colorado for a same-day quote and get it fixed right the first time.
Standards and Troubleshooting Resources
- CPSC final rules on automatic garage door openers
- 16 CFR part 1211 entrapment protection requirements
- UL 325 voluntary standard overview from CPSC
- Photo-eye alignment and cleaning troubleshooting guide
- Gate safety sensor entrapment protection basics
- Pass the UL 325 two-second reversal test
Sources
- Safety Commission Publishes Final Rules For Automatic Garage Door Openers
- 16 CFR part 1211 (excerpts)
- Garage Door Photo-Eye Sensors: Alignment, Cleaning & Troubleshooting | AA Advantage Doors
- Why your garage door won’t close and the opener light keeps blinking · Garage Door Science
- Replacement Safety Sensors for Garage Door Opener | The Home Depot
FAQ
How Do I Reset My Garage Door Safety Sensor?
Power-cycle the opener by unplugging it for about 30 seconds, then plug it back in after confirming both sensors are clean and properly aligned. If the LEDs stay steady after that, the reset worked; if they blink again, recheck alignment before assuming a deeper fault.
How Do I Know if My Garage Safety Sensor Is Bad?
Check the LED first: a blinking or dark light after cleaning and realigning usually points to wiring or a failed unit rather than a bad sensor pair outright. If one sensor’s LED never lights up even with power confirmed at the opener, that unit likely needs replacing.
What Are the Safety Sensors on a Garage Door?
They’re a matched photo-eye pair, one sender and one receiver, mounted about 4 to 6 inches off the floor on either side of the door track. They project an infrared beam that stops the door from closing if anything breaks it, a requirement under federal entrapment-protection rules since 1993.
How Much Does It Cost to Replace Garage Door Sensors?
A basic replacement pair typically costs modestly for parts. DIY installation is usually quick once the old brackets are removed. For labor and diagnosis through a professional, current pricing is available directly from Mikes garage doors Loveland colorado with a free phone estimate.
Can I Just Bypass My Garage Door Sensors?
No. Bypassing the sensors removes the entrapment protection required by UL 325 and federal regulations, and it turns your door back into the exact hazard those rules were written to prevent.
Recommended
Need a hand with your door?
Talk to a real tech — most calls are diagnosed in under two minutes.


