Why Garage Door Opener Light Flashes: Fix It Fast
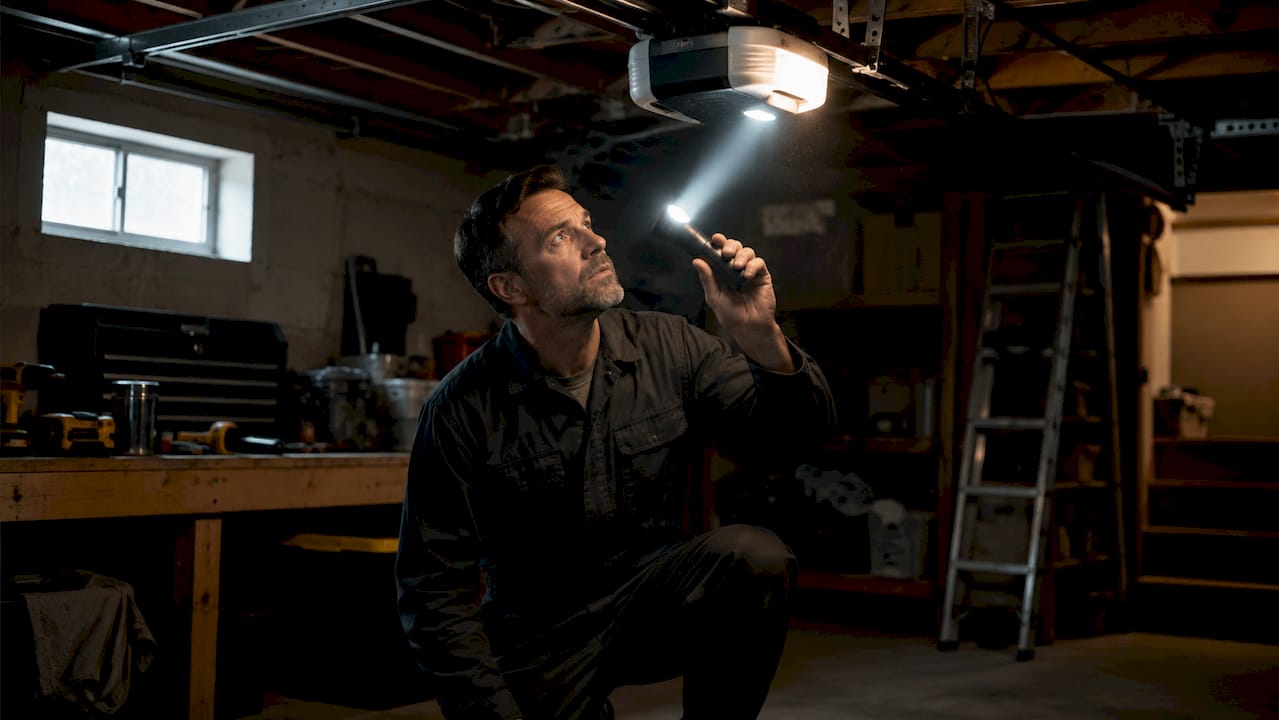
A flashing garage door opener light is a diagnostic signal, not a random glitch. Modern openers from LiftMaster, Chamberlain, and Genie use intentional blink codes generated by internal logic boards to tell you exactly what is wrong. Understanding why garage door opener light flashes saves you a service call in most cases. Roughly 80% of flashing light issues trace back to four simple causes that cost nothing or next to nothing to fix. Read the blink count, match it to the cause, and you are most of the way to a working door.
Why does my garage door opener light flash?
The flashing light on your garage opener is the system’s only way to talk to you. Diagnostic blink codes correspond systematically to specific faults, so the number of flashes is the message. Count them carefully, because two flashes means something completely different from ten.
Here are the most common flash patterns and what they mean:
- 10 flashes: The photo-eye safety sensor has a fault. This is the single most common code across LiftMaster, Chamberlain, and Genie. Dirt, misalignment, or a blocked beam triggers it every time.
- 2 flashes: The Lock or Vacation mode is active on your wall console. Remotes are disabled but the wall button still works. This surprises a lot of homeowners who accidentally hit the lock button.
- Continuous or irregular flashing: This points to a wiring short or a failing internal logic board. It is less common but requires more than a quick fix.
- 4 flashes: On some Genie and Marantec models, four flashes indicate a safety reversal issue, meaning the door hit an obstruction or detected resistance during travel.
- 1 flash: Often signals a broken wire or disconnected safety sensor on select LiftMaster models.
Dead remote batteries also cause a flashing light on garage opener units. Weak or dead batteries send intermittent signals that confuse the opener’s receiver, triggering alerts. Swap them out before you do anything else.
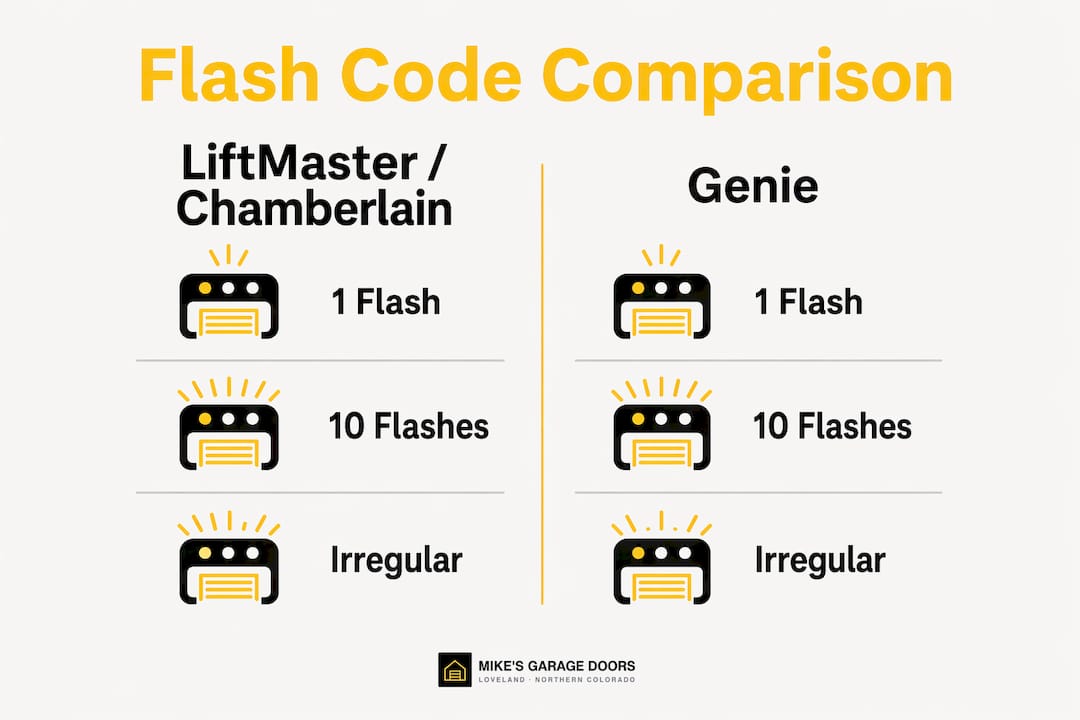
Flash code comparison by brand

| Flash Count | LiftMaster / Chamberlain | Genie | General Meaning |
|---|---|---|---|
| 1 flash | Sensor wire open/disconnected | Safety sensor issue | Wiring or sensor fault |
| 2 flashes | Lock mode active | Sensor obstruction | Lock mode or sensor block |
| 4 flashes | Safety reversal | Safety reversal | Door met resistance |
| 10 flashes | Photo-eye sensor fault | Photo-eye sensor fault | Sensor misalignment or dirt |
| Continuous | Logic board failure | Wiring short | Internal electrical fault |
How to troubleshoot a flashing garage door opener light
Work through these steps in order. Most flashing light on garage opener problems resolve before you reach step five.
-
Replace the remote batteries first. This takes 30 seconds and fixes more problems than people expect. Use fresh alkaline batteries, not ones pulled from another device.
-
Check the safety sensors. Walk to the bottom corners of your door frame and look at both sensors. One sends an infrared beam, the other receives it. A solid green or amber light on each sensor means the beam is intact. A blinking or dim light means the beam is broken or interrupted.
-
Clean the sensor lenses. Wipe each lens with a dry cloth. Accumulated debris and dirt on the lens surface are a leading cause of false sensor faults, especially in garages that see a lot of foot traffic or yard equipment.
-
Realign the sensors. Loosen the wing nut or bracket screw on the sending sensor (usually the one with the amber light). Slowly tilt it until the receiving sensor shows a solid light. Retighten the bracket. Do not overtighten or you will knock it out of alignment again.
-
Check for sunlight interference. Direct sunlight hitting the receiver sensor can wash out the infrared beam even when the sensors are perfectly aligned. This is a common problem in west-facing garages during late afternoon. A small cardboard shade taped above the receiver fixes it temporarily. A permanent fix is a sensor sun shield, available at most hardware stores.
-
Disable Lock mode if you see 2 flashes. Press and hold the lock button on your wall console for two seconds. The flashing should stop immediately and your remotes should respond again.
-
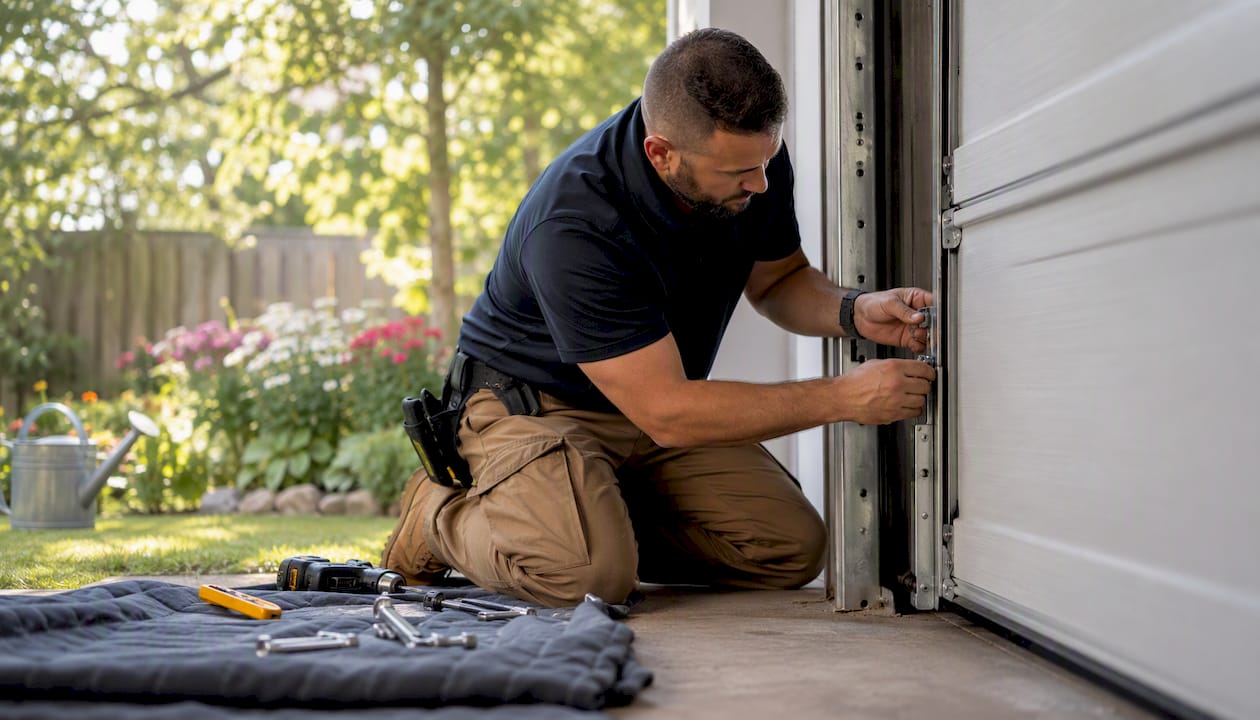
Inspect the sensor wiring. Broken or chewed wiring is a surprisingly common cause of persistent sensor faults. Run your eyes along the wire from each sensor up to the opener head unit. Look for pinched spots, frayed insulation, or sections that look like a pet got to them.
-
Power cycle the opener. Unplug the unit from the ceiling outlet, wait 30 seconds, and plug it back in. This clears temporary logic board errors and resets the system.
Pro Tip: If your sensors look aligned but the light still flashes 10 times, try blocking all natural light from entering the garage and test the opener. If it works in the dark, sunlight is your culprit, not the sensors themselves.
For a full step-by-step walkthrough, the 4-minute diagnostic guide from Mikes garage doors Loveland covers these checks in detail.
Is it electrical or mechanical? how to tell the difference
This is the question that matters most for your safety. A flashing light caused by a sensor fault is an electrical issue you can often fix yourself. A flashing light caused by a mechanical failure is a different situation entirely.
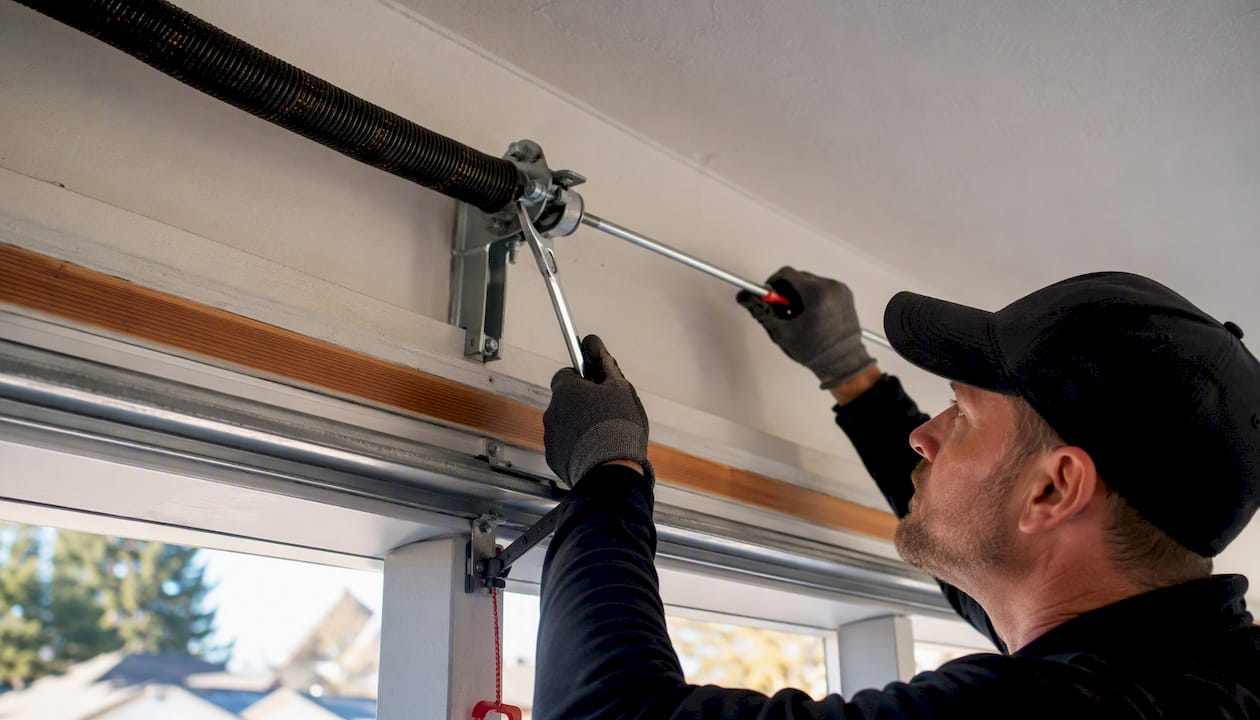
Mechanical faults like broken springs or door imbalance cause the opener to detect abnormal resistance during travel, which triggers a flash warning and stops the door. The opener is doing its job. It is protecting you from a door that could drop or bind unpredictably.
Watch for these signs that the problem is mechanical, not electrical:
- The door feels unusually heavy when you lift it manually using the emergency release cord.
- The door moves unevenly or one side sits lower than the other.
- You hear grinding, popping, or a loud bang when the door tries to operate.
- The opener hums but the door does not move, which often points to a stripped gear or a broken torsion spring.
- The door reverses immediately after starting to close, even with no obstruction visible.
Pro Tip: Pull the red emergency release cord and try lifting the door by hand. A properly balanced door should lift smoothly and stay at waist height on its own. If it feels like it weighs 200 pounds or drops when you let go, you have a spring or balance problem that needs a technician.
Forcing a mechanically compromised door is one of the most common and costly DIY repair mistakes homeowners make. You risk snapping a cable, bending a track, or damaging the opener’s drive system. If the door fails the manual lift test, stop and call a professional.
Understanding brand-specific flash codes
Most brands use 10 flashes for sensor faults, but the similarity stops there. LiftMaster and Chamberlain share the same code system because they are made by the same parent company, Chamberlain Group. Genie uses a partially overlapping system but diverges on several counts. Marantec uses a different numbering scheme altogether.
The safest approach is to pull your opener’s model number from the label on the motor head unit and look up the exact code chart in the owner’s manual or on the manufacturer’s website. A code that means “sensor fault” on a LiftMaster 8500W may mean something different on a Genie 7155.
How to find your opener’s model number
The model number is printed on a white or silver label on the side or back of the motor head unit. It usually starts with a letter-number combination like “8550W” for LiftMaster or “7155-TKV” for Genie. Once you have it, search the manufacturer’s support page for the flash code chart specific to that model.
Correctly interpreting flash codes prevents misdiagnosis. Replacing a sensor when the real problem is a logic board failure wastes money and leaves the root cause unresolved. Take two minutes to confirm the code before you buy any parts.
Quick reference: common flash patterns across top brands
| Brand | 2 Flashes | 10 Flashes | Irregular Flashing |
|---|---|---|---|
| LiftMaster | Lock mode active | Photo-eye sensor fault | Logic board failure |
| Chamberlain | Lock mode active | Photo-eye sensor fault | Wiring short |
| Genie | Sensor obstruction | Photo-eye sensor fault | Internal fault |
| Marantec | Varies by model | Sensor fault | Consult manual |
For a deeper look at sensor alignment across brands, the complete sensor alignment guide from Edge Garage Doors walks through the process with model-specific photos and measurements.
Key takeaways
A flashing garage door opener light is a coded message from the opener’s logic board, and reading the blink count correctly resolves most issues without a service call.
| Point | Details |
|---|---|
| Count the flashes first | The number of blinks is the diagnostic code; 10 means sensor fault, 2 means lock mode. |
| Start with free fixes | Replace batteries, clean sensor lenses, and check lock mode before spending anything. |
| Sunlight causes false faults | Direct sun on the receiver sensor breaks the infrared beam even when alignment is perfect. |
| Mechanical issues need a pro | If the door fails the manual lift test, stop operating it and call a technician. |
| Use your model number | Flash code meanings vary by brand; confirm your specific code chart before replacing parts. |
What years of garage door work taught me about flashing lights
The number of times I have seen a homeowner replace a perfectly good sensor because they skipped the lock mode check is genuinely surprising. Two flashes, remotes not working, and the wall button still operates the door fine. That is Lock mode, every single time. It takes five seconds to fix. The fix is free. But without knowing what two flashes means, it looks like a serious malfunction.
The other thing I see constantly is sunlight interference. A garage door that works fine in the morning but throws a sensor fault every afternoon around 4 p.m. is almost always a sun angle problem, not a broken sensor. West-facing garages in Northern Colorado get hit hard by late afternoon sun, and the receiver sensor just gets overwhelmed. A small cardboard shade or a $3 sun shield from the hardware store solves it permanently.
My honest advice: spend five minutes learning your opener’s flash codes before you call anyone. Check the sensors, check the batteries, check the lock button. If those three things are fine and the door still will not operate, then you have something worth calling about. And if the door feels heavy or moves wrong when you pull the emergency release, do not push it. A broken torsion spring turns your door into dead weight, and that is not a DIY situation.
The repair vs. replace decision is worth understanding too. Some flashing light issues point to an aging opener that is close to the end of its useful life. Knowing when to fix and when to replace saves money in the long run.
— Eddie
When you need a pro to resolve the flashing light
If you have worked through the troubleshooting steps and the opener still is not working, Mikes garage doors Loveland is ready to help. The team handles sensor repairs, wiring faults, and mechanical issues with 90% of jobs completed the same day you call.

You get a transparent estimate over the phone before anyone shows up, so there are no surprises on the bill. Veterans receive a 10% discount. Whether the problem is a logic board failure, a broken spring triggering resistance faults, or wiring damage from a curious pet, Mikes garage doors Loveland has seen it and fixed it. Call for a free diagnostic and get your door back to reliable operation today.
FAQ
What does it mean when my garage door opener light blinks 10 times?
Ten flashes is the standard diagnostic code for a photo-eye safety sensor fault across most major brands including LiftMaster, Chamberlain, and Genie. Check for dirt on the sensor lenses, misalignment, or a blocked infrared beam first.
Why does my opener light blink twice and the remote stop working?
Two flashes almost always means the wall console Lock or Vacation mode is active. Press and hold the lock button on the wall panel for two seconds to disable it and restore remote function.
Can a dead battery cause the garage door opener light to flash?
Yes. Weak or dead remote batteries send inconsistent signals to the opener’s receiver, which can trigger flashing alerts and prevent normal operation. Replace the batteries with fresh alkaline cells as the first troubleshooting step.
How do i know if my flashing light is a sensor problem or a mechanical problem?
Pull the emergency release cord and lift the door manually. If it lifts smoothly and holds at waist height, the issue is likely electrical or sensor-related. If it feels extremely heavy or drops when released, the problem is mechanical and requires a professional.
Does sunlight cause garage door sensor faults?
Direct sunlight hitting the receiver sensor can overpower the infrared beam and trigger a sensor fault even when the sensors are perfectly aligned. This is common in west-facing garages during afternoon hours and is fixed with a sensor sun shield.
Recommended
- Garage Door Opener Not Working? Walk Through This 4-Minute Diagnostic Before You Call | Mike’s Garage Door Repair Loveland
- Garage Door Services in Loveland, CO — Spring, Opener, Commercial & Custom
- Garage Door Off the Track? Don’t Force It — Here’s What to Do | Mike’s Garage Door Repair Loveland
- Garage Door Repair vs. Replacement: When It’s Time to Stop Patching | Mike’s Garage Door Repair Loveland
Need a hand with your door?
Talk to a real tech — most calls are diagnosed in under two minutes.